Dataløn (Visma)
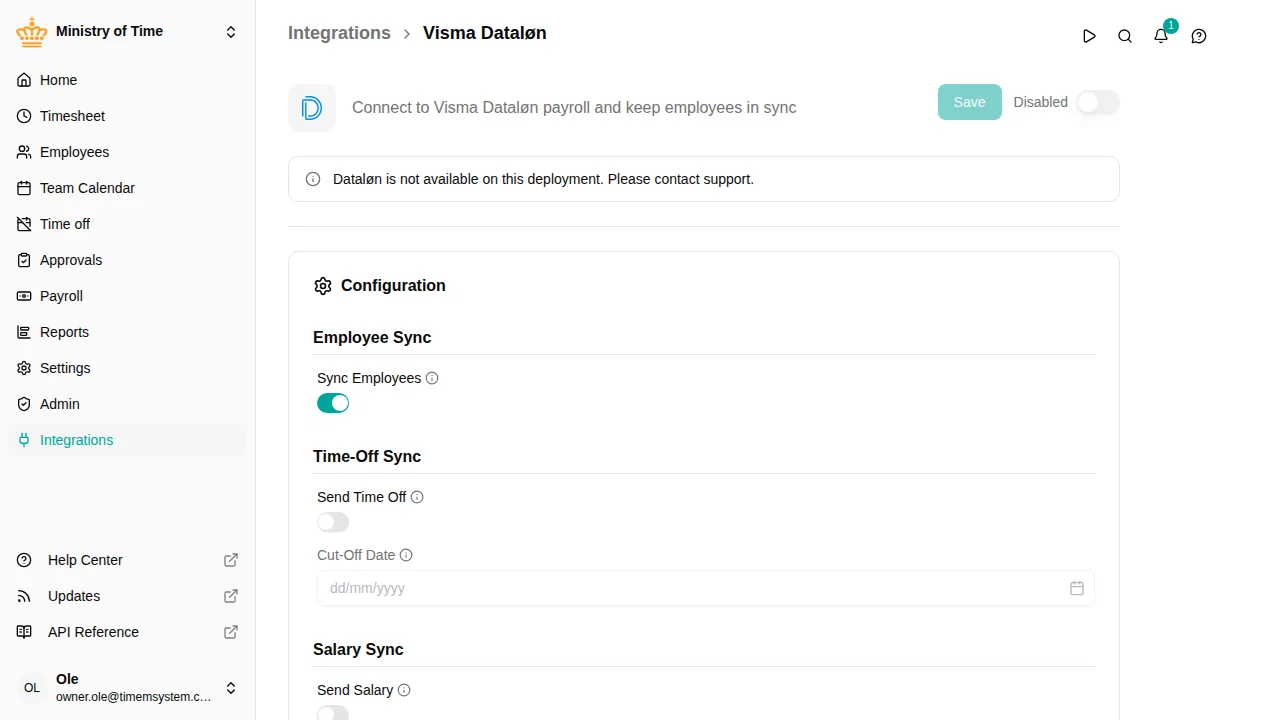
The Dataløn integration connects mTime with Visma Dataløn, the Danish payroll system. It keeps your employees linked between the two systems so that time off and worked hours can be sent to payroll without re-typing them.

What it syncs
The integration reads the following from Dataløn:
- Employees — Name, email and employee number
Employees who exist in Dataløn but not yet in mTime are created. Employees who have already left are not imported.
Before you start
You need one thing: an integration key. This is yours alone, and you generate it in Dataløn (see below).
Getting the integration key
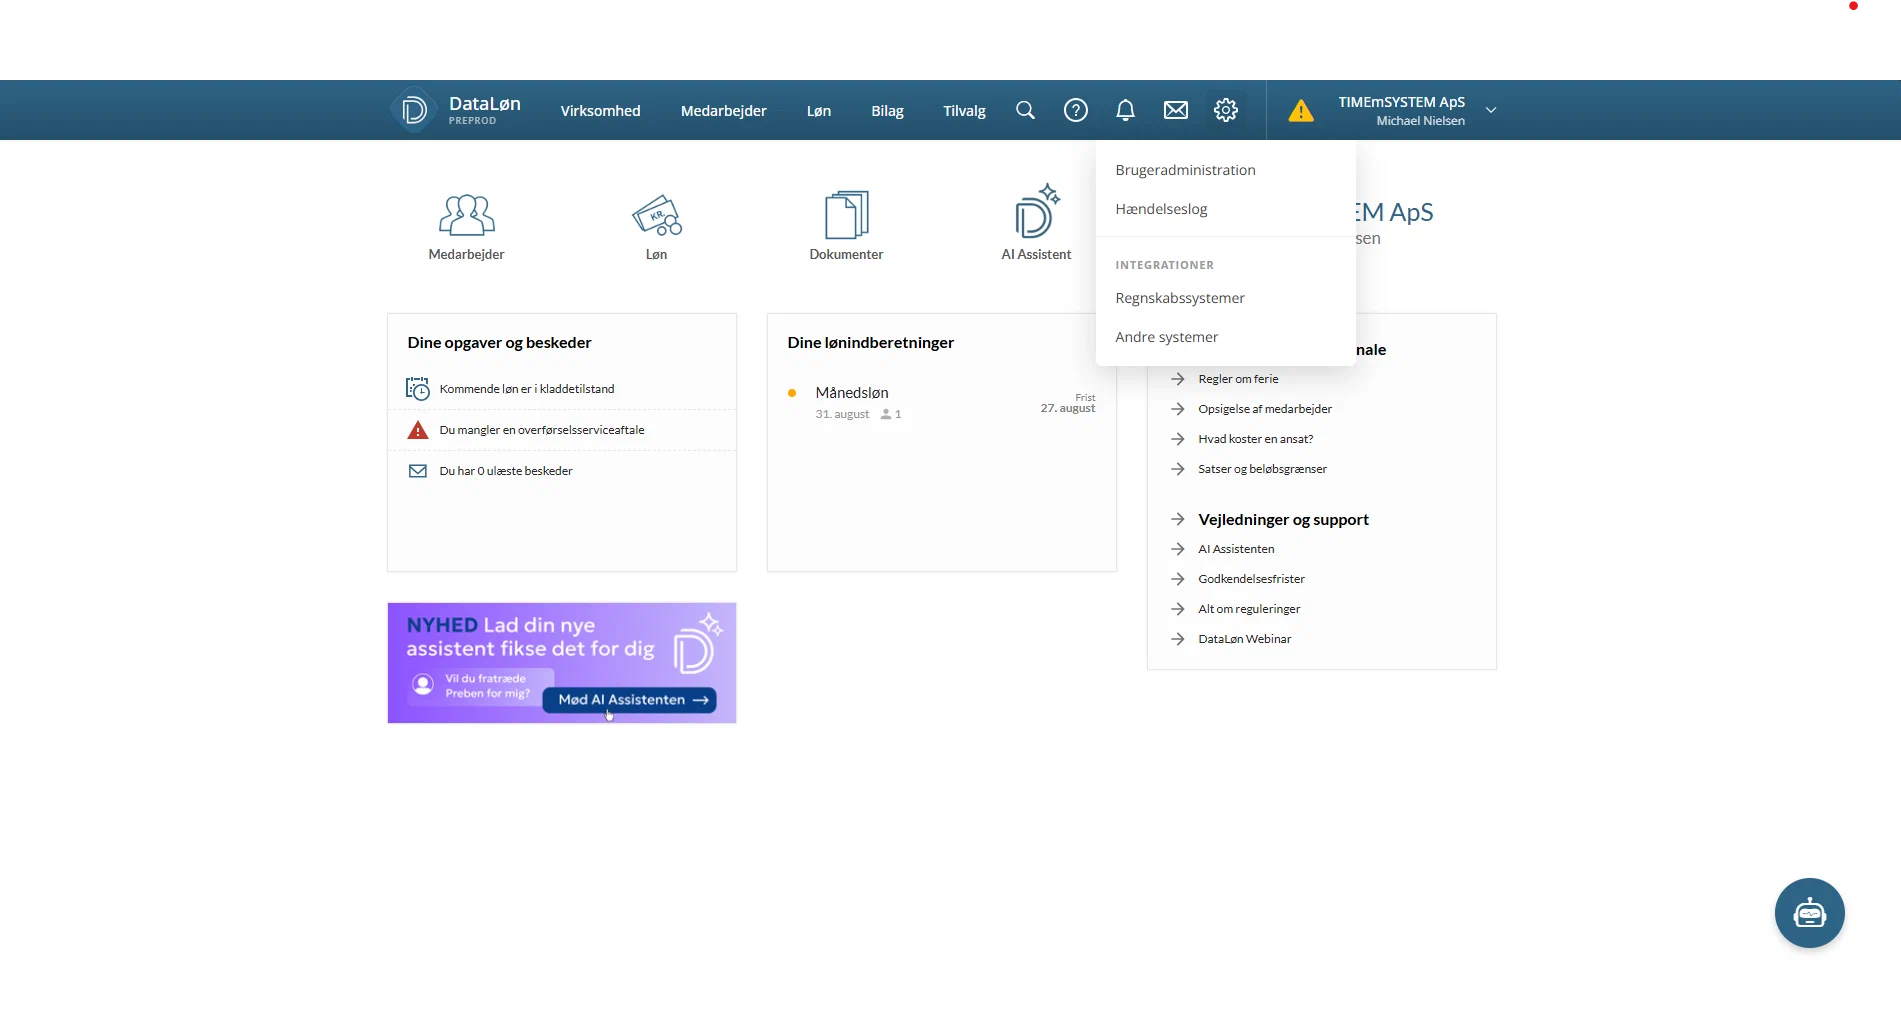
- Log in to Dataløn and open settings (the gear icon), then choose Andre systemer under Integrationer:

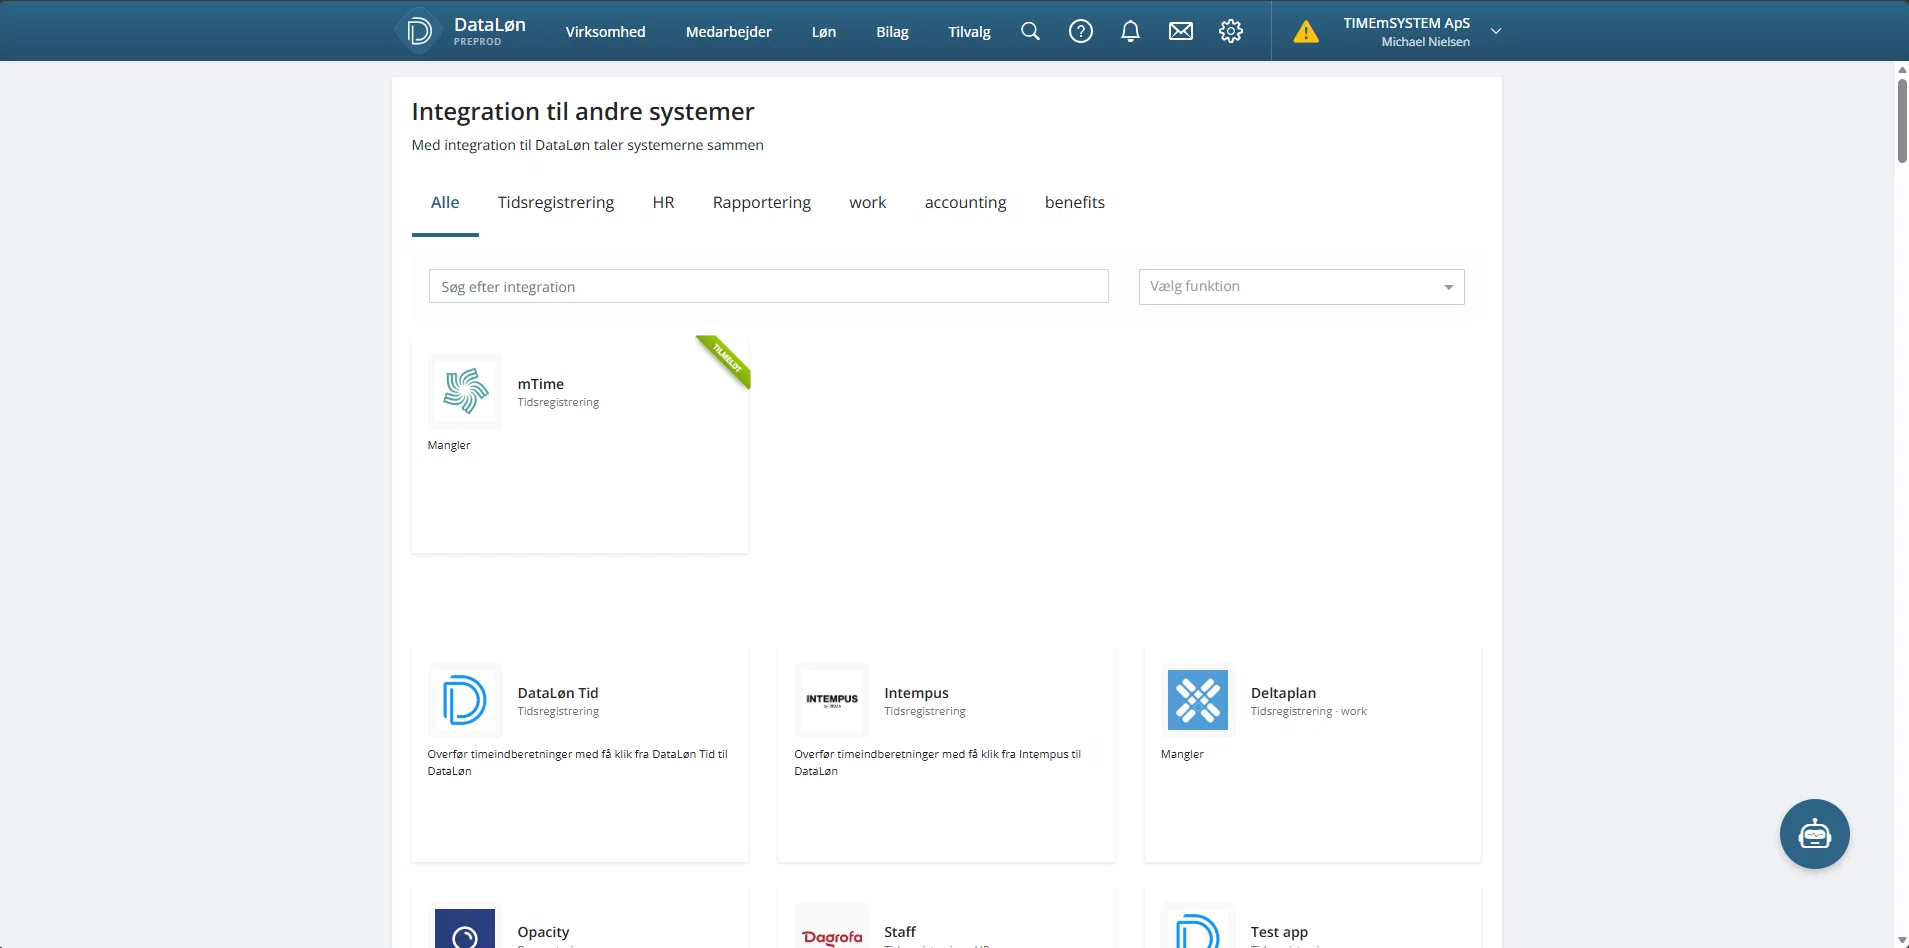
- Find mTime in the integration gallery and open it. If your company is not enrolled yet, click Tilmeld:

- Copy the key shown in the Nøgle field (the copy button next to it copies it in one click):

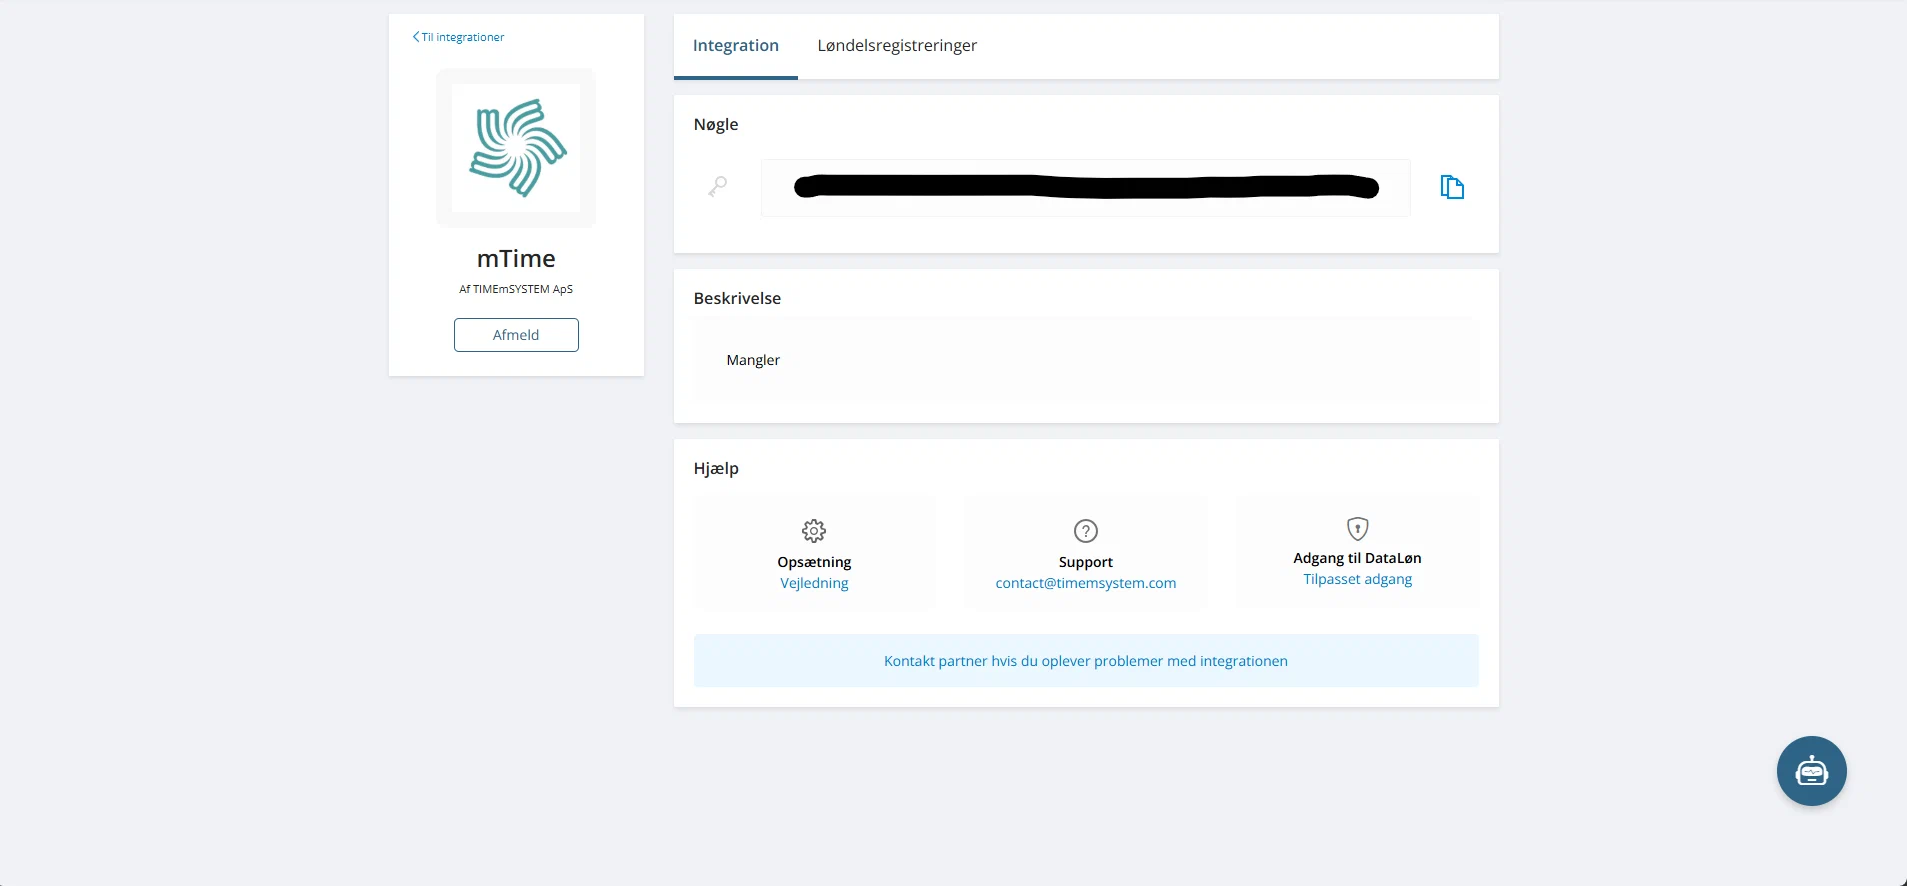
The key grants mTime access to that one company. Keep it safe — treat it like a password. (The Løndelsregistreringer tab on the same page is where Dataløn shows every registration mTime has sent.)
Setting it up in mTime
- Go to and select Visma Dataløn
- Paste the integration key
- Leave Sync Employees on
- Turn the integration on and save
- Click Sync Now to run the first sync
You never enter a company number — mTime reads it from the integration key. You do not choose a Dataløn environment either: mTime does that, and the integration page states which one it is connected to.
How employees are matched
Each Dataløn employee is matched to an mTime employee in this order:
- Email address — how employees are known in mTime, so it decides whether the employee already exists
- Dataløn employee ID — used once a previous sync has linked the two records
- Employee number — used when nothing else matches
If no match is found, a new employee is created in mTime.
Attributes added by Dataløn
When the integration is active, it adds read-only attributes to synced employees:
| Attribute | Description |
|---|---|
| Dataløn Employee ID | The employee’s unique identifier in Dataløn |
| Payroll Number | The employee’s number in Dataløn |
These appear in their own section on each record, named after the integration. See Custom attributes for more about how integration attributes work.
What to expect after the first sync
- Employees from Dataløn are linked to their mTime records, and any that were missing are created — see
- The attributes above are filled in on each employee
- Any employee the sync could not read is reported in the sync run’s result, under
After that, the integration syncs once per night and only asks Dataløn for employees that changed since the previous run.
Sending time off
- On each time off activity that should reach payroll, set the Dataløn Input Code
attribute to the payroll code (løndelsnummer) the registrations should use — for example
0047for vacation. Activities without a code are not sent. The Time Conversion attribute chooses whether the quantity is sent in hours or days. - Turn on Send Time-Off and set its Cut-Off Date . Only days on or after the cut-off are sent — set it to your go-live date, so historic time off is not delivered to payroll.
Each day of used time off becomes one registration in Dataløn. If the time off changes or is cancelled in mTime, the registration is updated or removed — until Dataløn has imported it into a payroll run. After import it is locked; a late change shows as a failed entry in the Integration Log and must be corrected in Dataløn.
Sending salary
Salary sending covers hourly-paid employees: the worked hours approved on their timesheet statements — base hours, overtime, and supplements.
- Make sure hourly pay is set up: the employment terms of hourly-paid employees have an Hourly pay activity, and any overtime or supplement is its own allowance activity.
- On each allowance activity — and on each time account paid out to payroll — set the Dataløn Input Code
attribute, for example
1213(normal hours × rate) or1617(overtime × rate). - Turn on Send Salary and set its Cut-Off Date . Only pay periods starting on or after the cut-off are sent.
Quantities are sent in the source’s own unit: hours for activities and hour-based accounts, days for day-based accounts — so map a day-based account to a løndel that expects days.
When a timesheet statement is approved, the period’s hours are sent to Dataløn per activity, dated at the start of the pay period. If a statement is reopened and approved again, the difference is sent as a new registration — Dataløn adds the registrations together at import, so corrections land in the next payroll run automatically.
1213 and 1617), the employee must have a payroll item template (fast løndel) with the rate in Dataløn. Without one, the hours import with no pay and no warning. Check the templates before the first payroll run.Importing in Dataløn
The registrations wait in Dataløn until a payroll user imports them: in Dataløn, start a payroll (lønindberetning), choose Importer , and select mTime. Dataløn then adds the registrations up per employee and code, applies the rates from the templates, and creates the payroll items.
The Integration Log
Every registration the integration sends — or fails to send — is recorded in . Each entry shows the employee, the payroll code, the status, and for failures the reason, together with the exact request sent to Dataløn and Dataløn’s answer.
These details contain salary and absence data, so only roles that can send payroll — such as HR Administrator — see them. A Workspace Administrator sees the Dataløn rows with their status and time, but not the codes, amounts, error text or requests.
Troubleshooting
| Problem | Solution |
|---|---|
| “employee has no Dataløn employee id — run the employee sync first” | The employee is not matched yet. Run Sync Now and check the employee exists in Dataløn with the same email or employee number. |
| “Input Code must be valid. Only input codes from ‘Payroll Item Types’ can be used” | The code on the activity or account is not a valid Dataløn løndel. Look the code up in Dataløn’s payroll item catalogue and correct the attribute. |
| Hours imported, but the employee got no pay | The payroll code needs a rate from a payroll item template (fast løndel) in Dataløn, and the employee has none. Add the template in Dataløn — the hours can be re-imported. |
| Nothing is sent | Check the toggle is on, the activity or account has an input code, the date is on or after the cut-off date, and the employee is matched. |
| A change after payroll import fails | Registrations are locked once imported. Correct the amount directly in Dataløn; for salary, a reopened statement sends the correction to the next payroll run automatically. |
Next steps
Once the integration is running, see Integrations for how to check sync status, trigger manual syncs, adjust settings, and troubleshoot issues.