Bulk actions
Apply a single administrative action to a batch of employees at once — change employment terms, move employees between org units, or pre-register time off — with a full audit trail of what changed and for whom.
Overview
Bulk actions are useful when the same change needs to happen for many employees at once:
- Yearly reorganization — Move a department to a new org unit
- Policy rollout — Switch a group of employees to new employment terms
- Mass time-off registration — Pre-register a company-wide holiday or shutdown period
Each bulk action runs through a 4-step wizard: pick the action, select the employees, review the plan, and apply. Execution happens in the background; outcomes are recorded per employee and stream back to the screen as they complete.
Available actions
| Action | What it does |
|---|---|
| Change employment terms | Replace the employment terms on each selected employee with the chosen terms |
| Change org unit | Move each selected employee to the chosen org unit |
| Register time off | Create an already-approved time-off request for each selected employee, using the chosen policy, dates and reason |
Time-off bulk actions are landed as already approved regardless of the underlying policy — the administrator running the bulk action provides the authorization.
Opening the list
Go to to see existing bulk actions.

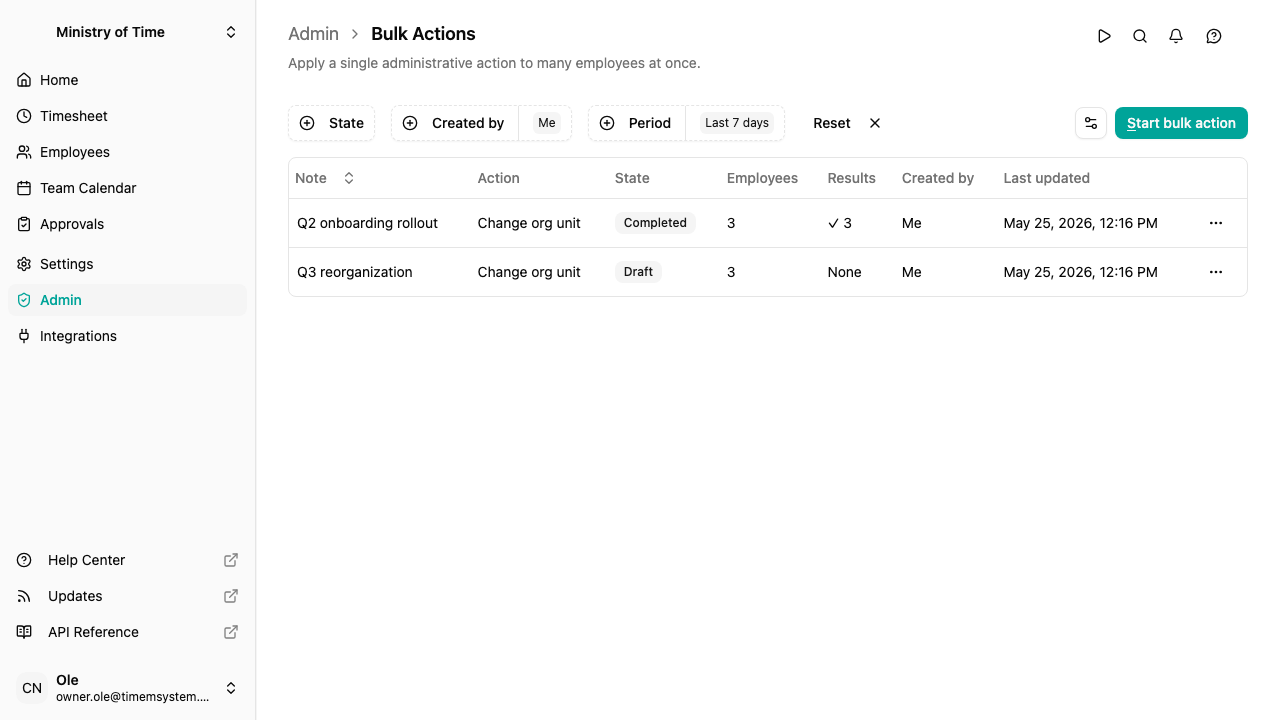
The list is filtered by:
- State — Draft, Applying, Completed, Cancelled, or Aborted
- Created by — Defaults to your own actions (labelled “Me”); switch or extend to see others
- Date period — Last 7 days by default; switch to custom for a specific range
Each row shows the note, action type, current state, number of selected employees, and a per-status result count (✓ success · ✗ error · ⋯ pending · ⊘ aborted).
Creating a bulk action
Click Start bulk action to open the wizard. It has 4 steps that you walk through in order — you can come back to any earlier step until you press Run.
Step 1 — Action

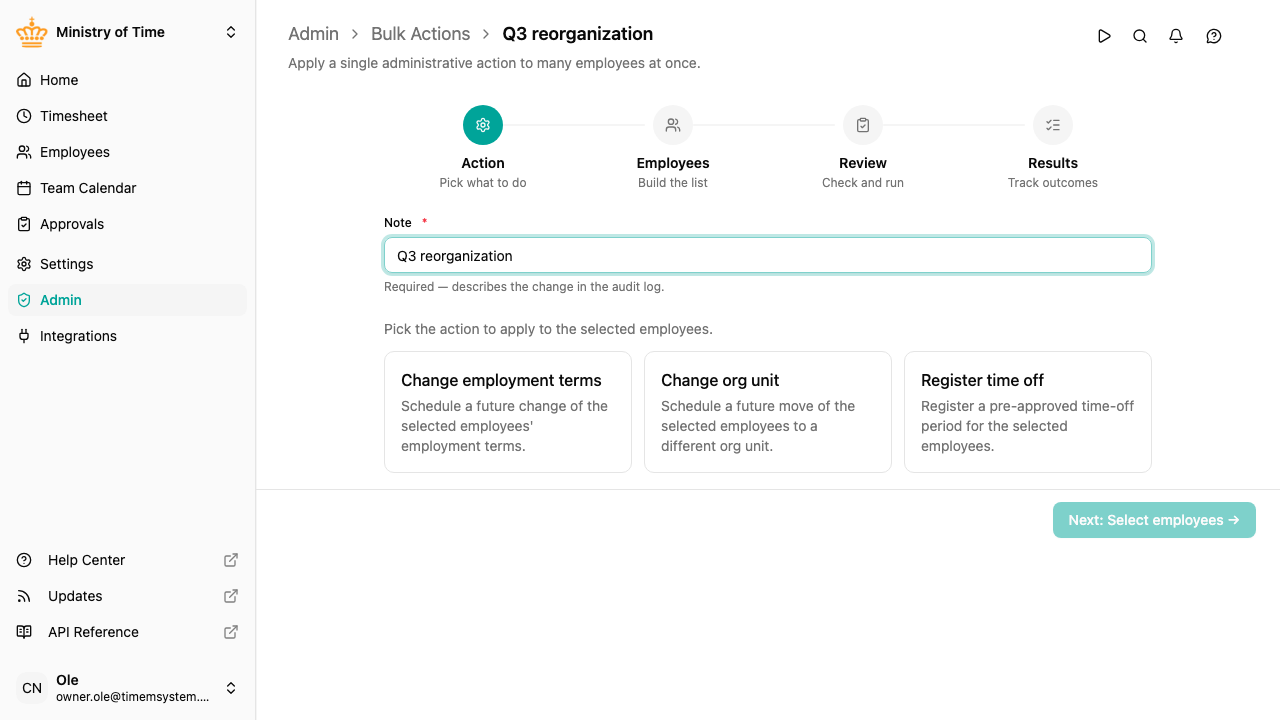
- Enter a short Note describing what the action is for. The note is mandatory and appears in the audit log on every version row produced by the action.
- Pick one of the available actions.
- Fill in the action’s parameters — for example, the target employment terms, the destination org unit, or the time-off policy and dates.
Click Next: Select employees when ready. The draft is saved at this point and gets a permanent URL you can return to later.
Step 2 — Employees
Build the list of employees the action will apply to.

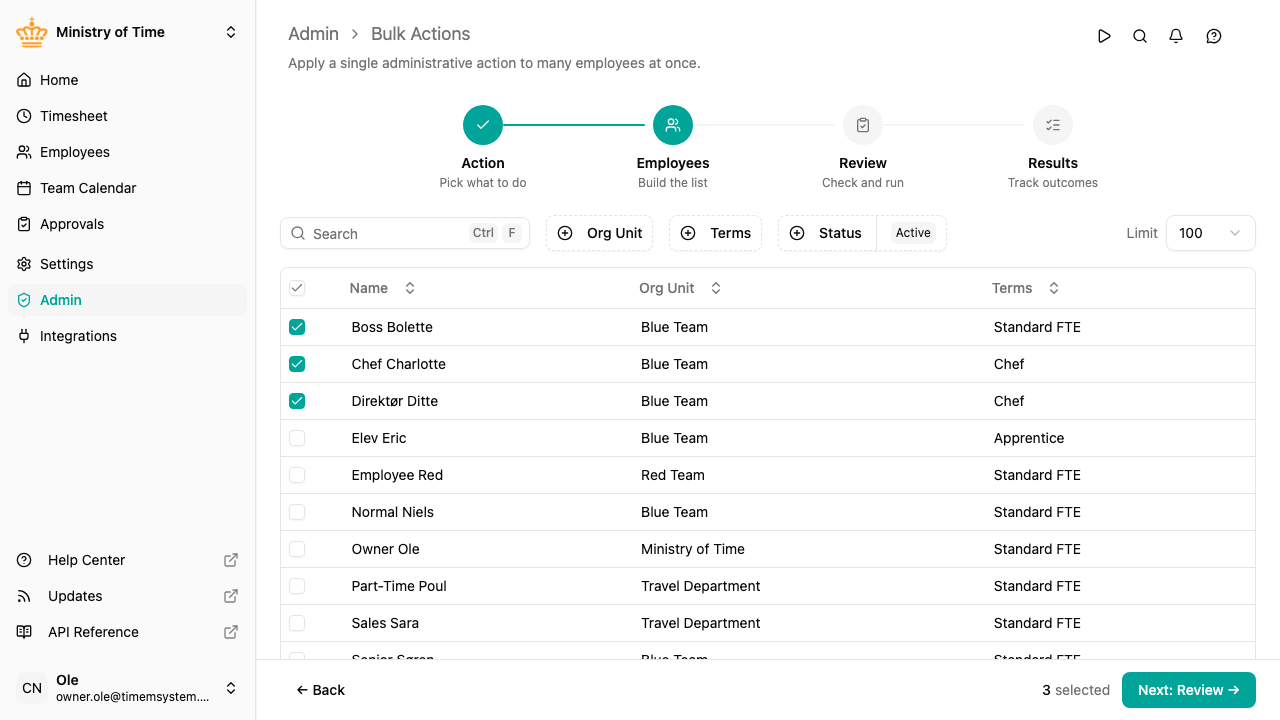
Use the filters at the top to narrow down candidates:
- Org unit — limit to one or more units
- Employment terms — limit to employees on specific terms
- Status — active, pending, or inactive
- Search — match by name
Tick the checkbox next to each employee you want to include, or use the header checkbox to Select all visible at once. You can raise the page Limit (100 → 1000) to see more candidates at the same time. Pressing Space or Enter on a focused row also toggles its selection — handy for keyboard-driven picking.
The selected count at the bottom updates live. Click Next: Review to continue.
Step 3 — Review
The Review step shows exactly what will happen when you run the action.

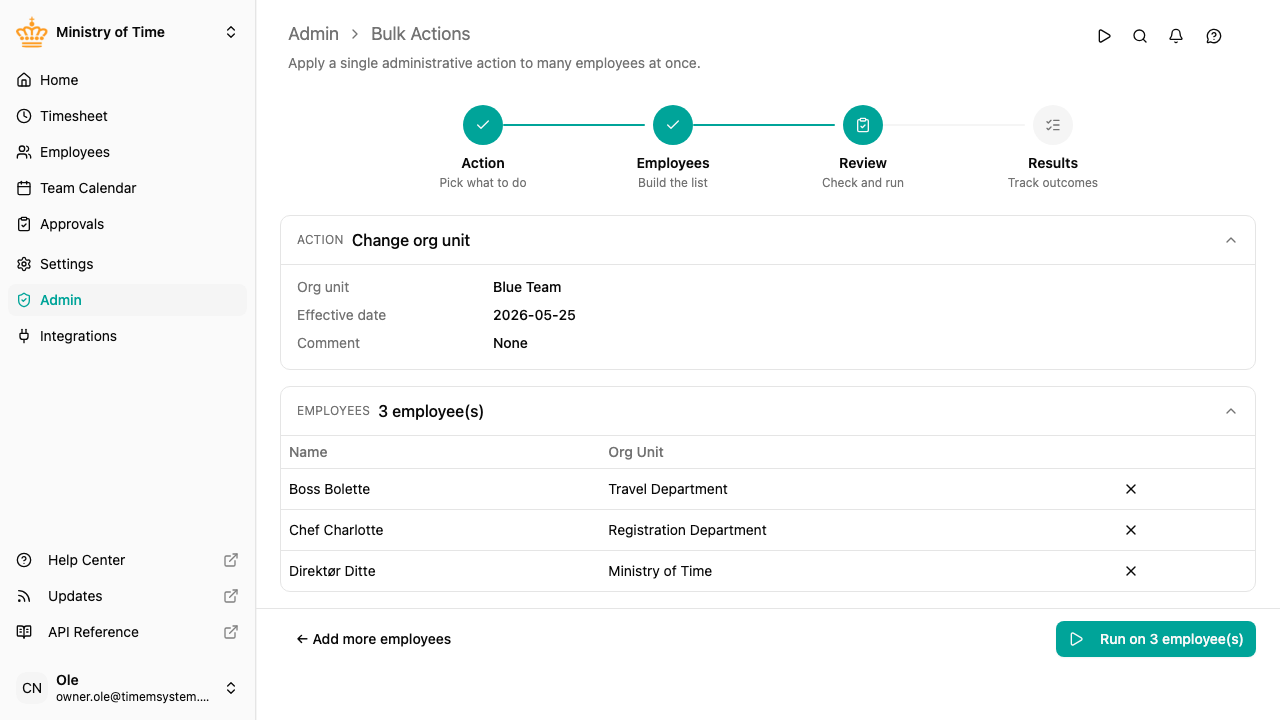
- The action summary at the top recaps the action and the parameters you configured.
- The Employees card lists every employee in the batch with their org unit. Click the small ✕ on a row to remove an employee from the batch, or use Add more employees to go back to step 2.
When everything looks right, click Run on N employees . A confirmation dialog appears — the action is irreversible, so we want a deliberate click.

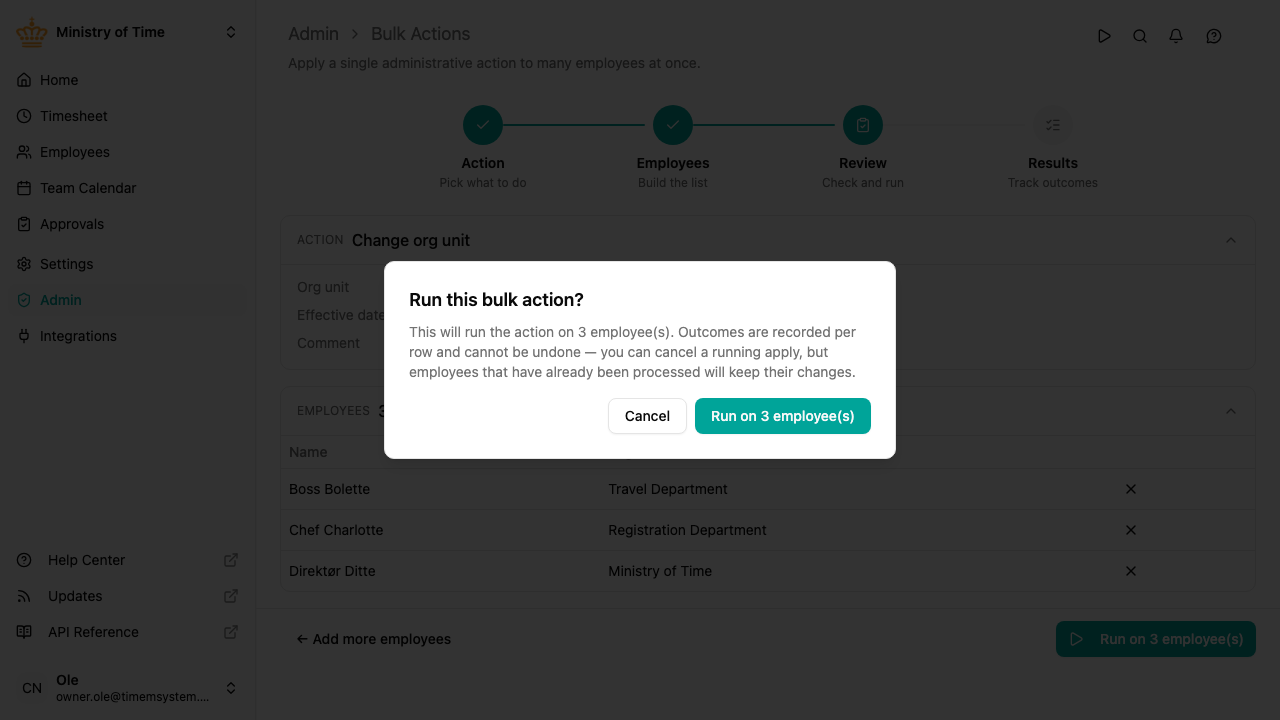
Click Run on N employees to start the apply.
Step 4 — Results
Once started, the wizard switches to the Results step and streams outcomes as each employee is processed.

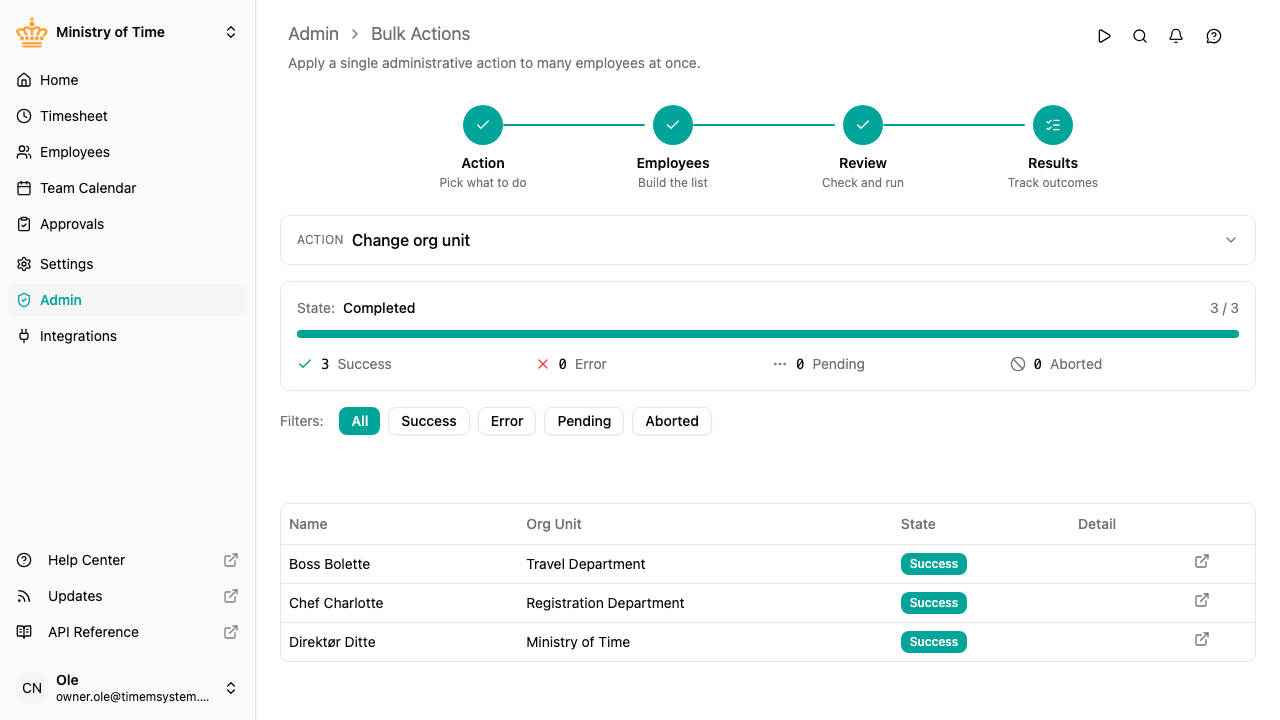
The progress bar at the top tracks completion (successes + errors + aborted vs total). Below it, four counters break down the outcomes:
| Status | Meaning |
|---|---|
| Success | The action was applied successfully on this employee |
| Error | The action failed for this employee — see the Detail column for the reason |
| Pending | Not processed yet |
| Aborted | Skipped because the apply was cancelled before reaching this row |
Use the filter buttons to focus on a single status. The external-link icon next to each row opens the employee’s profile in a new tab.
Cancelling a running apply
While the state is Applying, click Cancel apply to stop processing remaining rows. Employees that have already been processed keep their outcome — only the pending rows are aborted.
After completion
Completed bulk actions stay in the list for audit. Open any past action to see the full per-employee result.
Tracing changes back to a bulk action
Every version row produced by a bulk action — a new employment-term assignment, an org-unit move, a time-off request — carries the originating bulk-action ID. When you open the version history of an affected entity, those rows show a clickable Bulk action chip that links back to the originating action.
This makes it easy to answer “where did this change come from?” months later.
Drafts
A bulk action created via the wizard starts as a Draft and can be edited until you press Run. Drafts you no longer need can be discarded from the list — open the row actions and pick Delete. Discarding a draft never affects employee data; only the draft itself is removed.
Permissions
Bulk actions require workspace-admin permission. The action being applied does not need to be one the operator could perform individually — the bulk-action permission itself is the authorization.